Questions

General discussions for car and semi-truck racers.
46u

Re: Questions

Post by 46u »

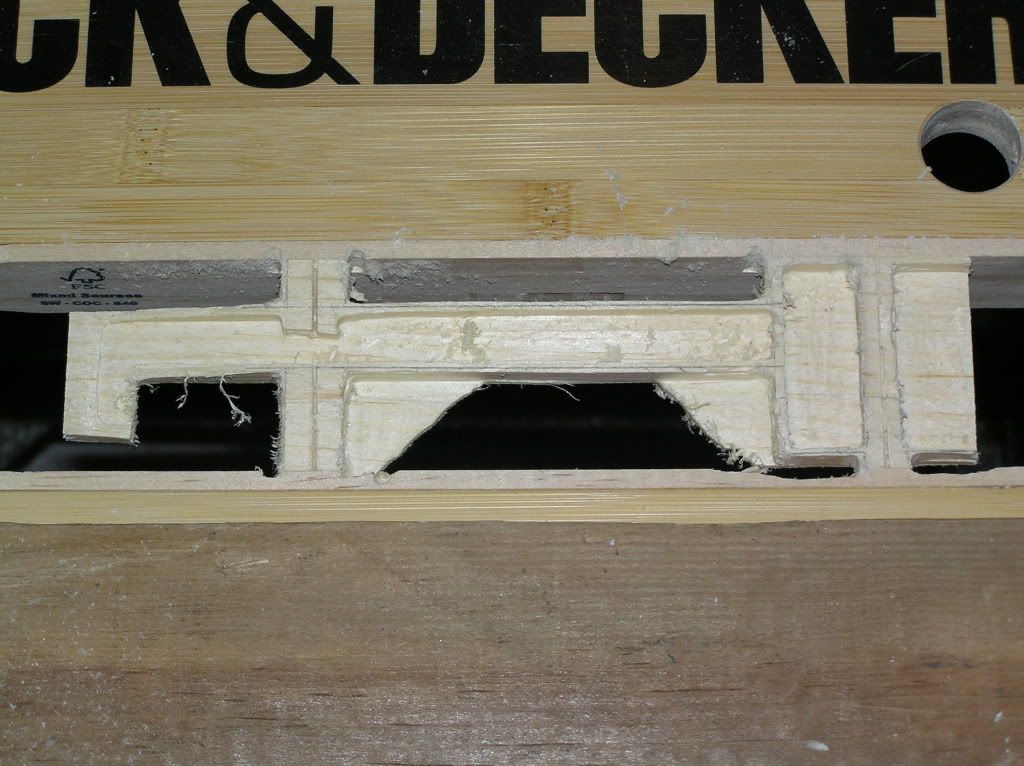
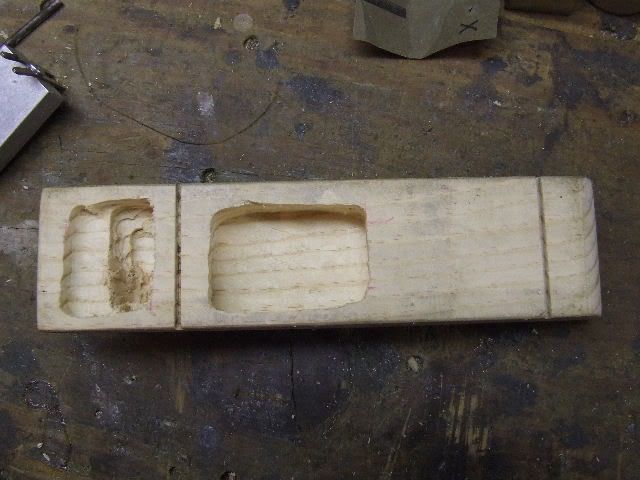
I routed out so much in one spot I when clear through. :oops: Not bad just have to feel it in. This is where I am right now and hope to start sanding feeling and sealing in the morning. Next time I will make the holes for the weights closer to each other.
Image
Image
User avatar
sporty
Pine Head Legend
Pine Head Legend
Posts: 3344
Joined: Sun Feb 13, 2005 1:00 am
Location: rockfalls, Illinois

Re: Questions

Post by sporty »

not bad, its harder to route out and not crack the wood or chip it. let along not go to deep. been there. before.

Sporty
46u

Re: Questions

Post by 46u »

I ended up with a hair over 1 inch on the COG. Was hoping for 3/4. I have an attachment for my Dremel to do the routing.
Thanks
Jeff
Shawn Stebleton
Master Pine Head
Master Pine Head
Posts: 190
Joined: Wed Jan 25, 2012 7:20 pm
Location: Monroeville, PA

Re: Questions

Post by Shawn Stebleton »

Since my boys have wanted to go for speed, we opt for the plank as a starting point. Usually between 1/4 inch and 3/8 inch thick. It's easy to rout out the bottom.

A little over 4 years ago (just over 5 pack derbies ago) I got a Workmate workbench, the router attachment for my Dremel, and some number 650 and 654 router bits. They were bought at one of the big box home improvement stores. Any time I visit, I also pick up a couple of free paint stirring sticks. I use all these in building cars with my boys.

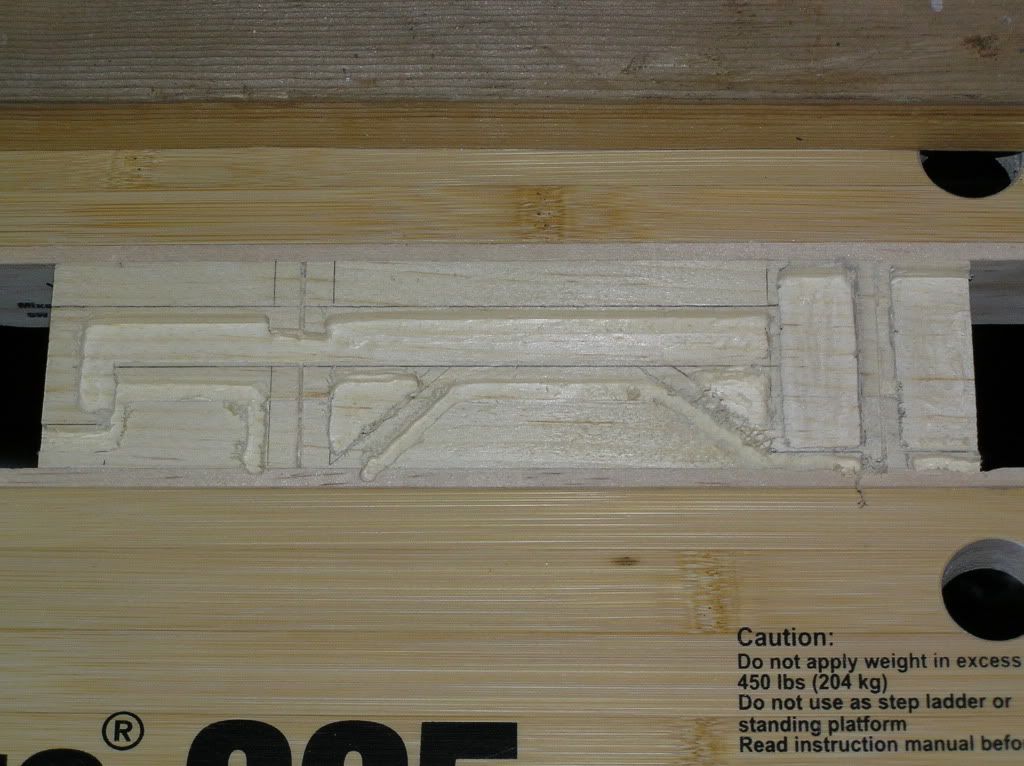
Turn the car over so the bottom is up. Place one paint stirring stick on one side and another on the other side. Place the unit in between the two table halves and clamp them loosely in place such that one end of the car is to the right and the other to the left. Place two flat blocks (unused car bodies work fine) crosswise to the car body (front-to-back across the tables) and use that as a stop so that you can tonk up the car and paint stirring sticks to be level with the top.

See this picture for an example of what I am talking about:
Image

You would put the two stop blocks across the car body and hold them in place (put a good amount of downward pressure) with one hand and while doing so, use the other hand to tonk up the car body and paint stirring sticks. You can see how the car body and paint stirring sticks are flush with the workbench table tops. It makes a suitable surface for the router attachment.

Remember that the top you are looking at is really the bottom of the car and the car top (on the bottom) is just one solid table. If you want to narrow the sides, just extend the router bit and route through the bottom (car's top) on the outer part of the body. It's OK to rout into the paint stirring sticks. They're cheaper to replace than the workbench. 8)

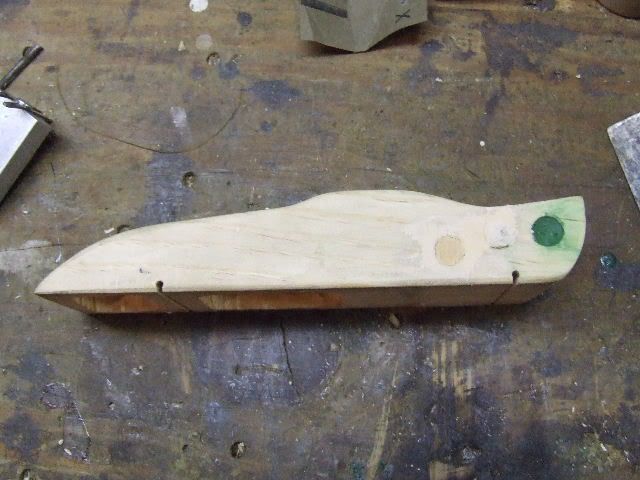
Here is an example of the result:

Image

The car above was an experience car. We got experience from it, but nothing more. :mrgreen: Things just didn't work out the way my son wanted them to, so we started over with another piece. I just didn't get pictures of the build for that one.

That workbench is my workshop--wherever I set it up. I don't have a "real" workshop with a true workbench. Nor do I have a "real" router table or any other power tools than a drill, or even a garage to house them. I'm working on fixing an old Dremel Moto Shop my dad gave me. It was my first power tool when I was a kid building my Pinewood Derby cars.

When routing, you can remove much more than you did from your current car, making it much lighter. We shoot for about 8 or 10 grams, and that includes whatever epoxy is needed for strength or repairing mistakes. This year, my son and I were able to have the car body, epoxy, paint, weight screws, axles, and wheels come in at 0.96 oz. Eight plates of tungsten were 4.02 oz. Two small squares of lead tape from a golf pro shop brought it up to 5.00 oz. CoM was at 1/2 inch, but could easily have been forward of that. With four ounces of tungsten to play with, you could put the CoM just about anywhere you wanted.

Hopefully this will give you some ideas for your future builds.
Shawn
46u

Re: Questions

Post by 46u »

After I get every thing set what glue do you recommend for putting in the slots to the axles from moving?

Shawn Stebleton thanks for the tips. My biggest obstetrical is time. I only had 3 days to do the build. Next one I build I will take it slower as well as have some experience. I wanted to build a flat thin car but being my grandson is all most 7 he wanted something with some shape. The one I build for my self will be all out law.
Thanks
Jeff
User avatar
FatSebastian
Pine Head Legend
Pine Head Legend
Posts: 2818
Joined: Wed Jun 17, 2009 2:49 pm
Location: Boogerton, PA

Re: Questions

Post by FatSebastian »

46u wrote:After I get every thing set what glue do you recommend for putting in the slots to the axles from moving
Epoxy and PVA (Elmer's) glue are popular recommendations. Avoid Gorilla glue (that expands) and Cyanoacrylate (CA) glue (Super glue, Krazy glue) formulations that are runny.
46u

Re: Questions

Post by 46u »

Do you feel the whole slot where the axle is with Epoxy or just put a drop on it?
Thanks
Jeff
JSG
Master Pine Head
Master Pine Head
Posts: 125
Joined: Mon Feb 15, 2010 2:40 pm
Location: Grand Rapids, MI

Re: Questions

Post by JSG »

We fill ours about an 1/8" away from the side to the end of the nail to avoid having it run down the side to the wheels. We use 2-part epoxy.
User avatar
FatSebastian
Pine Head Legend
Pine Head Legend
Posts: 2818
Joined: Wed Jun 17, 2009 2:49 pm
Location: Boogerton, PA

Re: Questions

Post by FatSebastian »

46u wrote:just put a drop on it?
Agree with JSG: more than a drop, but not too close to the edge with wheels installed. Maybe see also this and this for future reference.
Shawn Stebleton
Master Pine Head
Master Pine Head
Posts: 190
Joined: Wed Jan 25, 2012 7:20 pm
Location: Monroeville, PA

Re: Questions

Post by Shawn Stebleton »

46u wrote:After I get every thing set what glue do you recommend for putting in the slots to the axles from moving?
We use CA (Crazy Glue). Hold the car upside down and tilt it about 5 degrees towards one side. For the side that is up, put one drop about middle of the exposed axle. It won't run into the wheel this way and it will hold enough for racing. A twist can easily break the bond, too. After a minute, tilt it the other way and do those axles.

I hope your son has fun this year. Good luck. Before the races, ask him to observe the flatter cars vs the full-bodied cars and to see which ones go faster. At the pack/local level, there won't be as much of a correlation, but if you have a higher level race such as districts you will see more. Ask him afterwards if he might want to try to make a flat car next year to slice through the air. Get the gears in his mind working!
Shawn
User avatar
Nate
Pine Head
Pine Head
Posts: 68
Joined: Mon Dec 13, 2010 7:07 am
Location: Grand Rapids, MI

Re: Questions

Post by Nate »

VERY nice build in that time frame!

I remember seeing all the leaders cars race when I was a kid and noticing that they were all flat or wedge shapes. It never occurred to me that I should be actually trying that myself. :)
46u

Re: Questions

Post by 46u »

Paint was still wet at 9PM last night so I went to bed and got up at 4AM to work on it. For some reason the paint did not turn out the best but it will have to do. I have done about all I can. Have 1 hour to get ready to leave at 7AM as I have a 40 mile drive and never been where it is being held so I want to be on time as we have to check in at 8:30AM. I would like to put more graphite on it before check in. Wish us luck and I will report back later on.
Thanks
Jeff
MOFAST
Master Pine Head
Master Pine Head
Posts: 107
Joined: Fri Jan 27, 2012 6:30 pm
Location: Kansas City, Mo
Contact:

Re: Questions

Post by MOFAST »

My daughter's car is almost exactly the same shape, and hid the weights same way. I doubt your grandson will have purple stars all over it. :D

Good luck racing today, we race in 2 hours! Son and I are ready!!!! :nod:
46u

Re: Questions

Post by 46u »

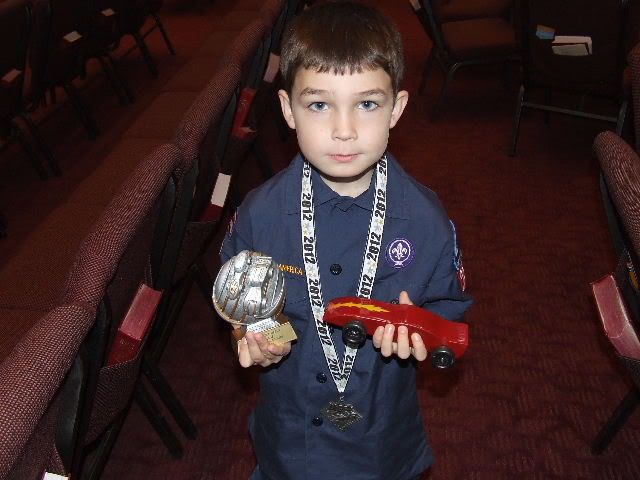
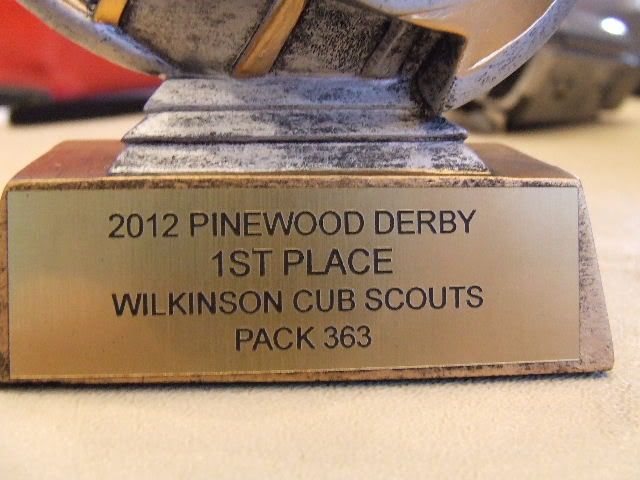
Just in case you do not see it in the other thread. Yes I am very pleased for our first build and the time we built it in. He was on the average of 0.18 faster then the next fastest car.
Image
Image
Post Reply