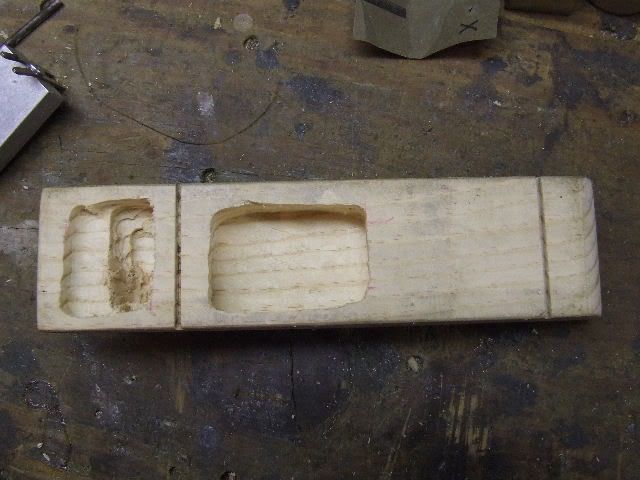
Since my boys have wanted to go for speed, we opt for the plank as a starting point. Usually between 1/4 inch and 3/8 inch thick. It's easy to rout out the bottom.
A little over 4 years ago (just over 5 pack derbies ago) I got a Workmate workbench, the router attachment for my Dremel, and some number 650 and 654 router bits. They were bought at one of the big box home improvement stores. Any time I visit, I also pick up a couple of free paint stirring sticks. I use all these in building cars with my boys.
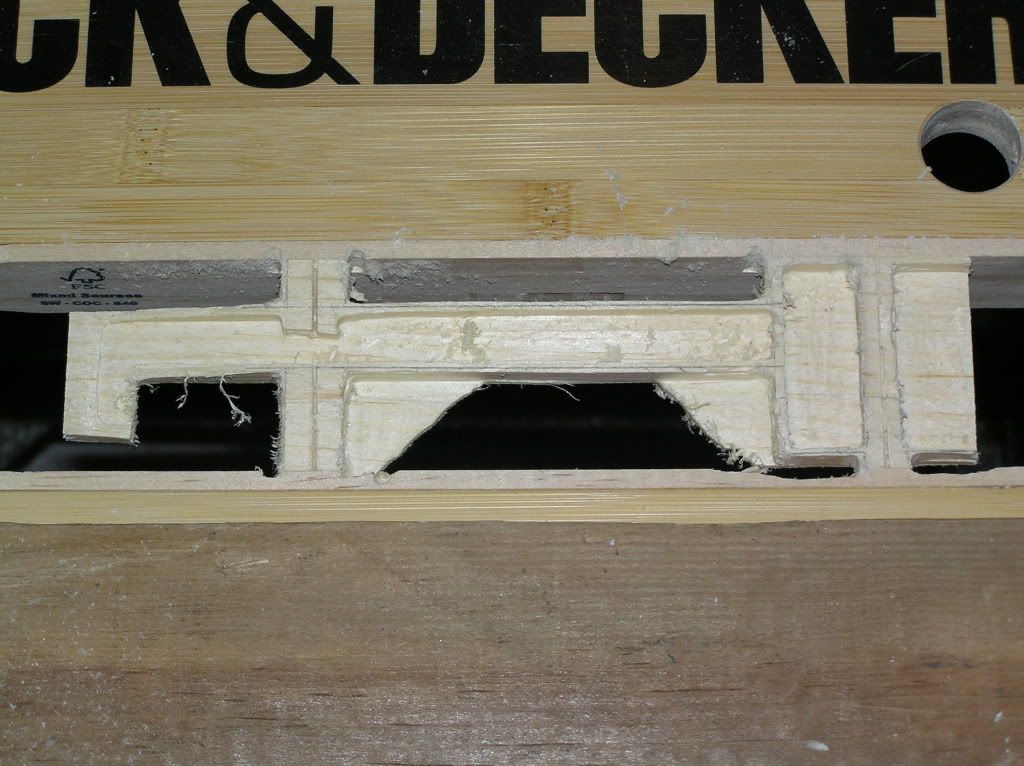
Turn the car over so the bottom is up. Place one paint stirring stick on one side and another on the other side. Place the unit in between the two table halves and clamp them loosely in place such that one end of the car is to the right and the other to the left. Place two flat blocks (unused car bodies work fine) crosswise to the car body (front-to-back across the tables) and use that as a stop so that you can tonk up the car and paint stirring sticks to be level with the top.
See this picture for an example of what I am talking about:
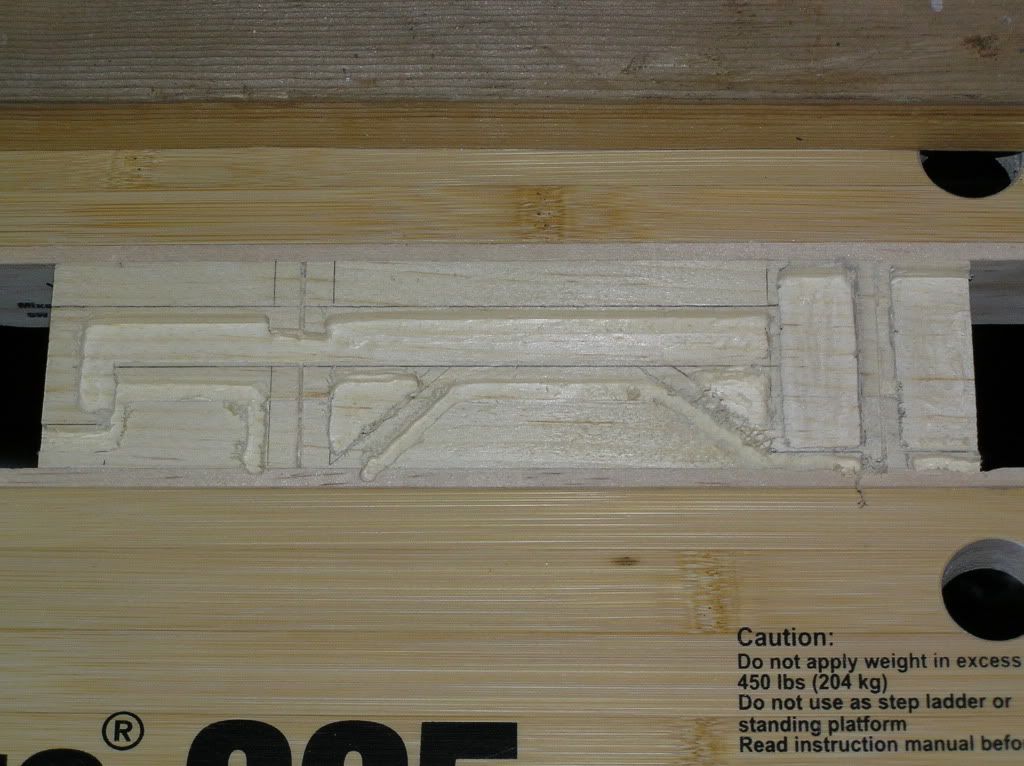
You would put the two stop blocks across the car body and hold them in place (put a good amount of downward pressure) with one hand and while doing so, use the other hand to tonk up the car body and paint stirring sticks. You can see how the car body and paint stirring sticks are flush with the workbench table tops. It makes a suitable surface for the router attachment.
Remember that the top you are looking at is really the bottom of the car and the car top (on the bottom) is just one solid table. If you want to narrow the sides, just extend the router bit and route through the bottom (car's top) on the outer part of the body. It's OK to rout into the paint stirring sticks. They're cheaper to replace than the workbench.

Here is an example of the result:
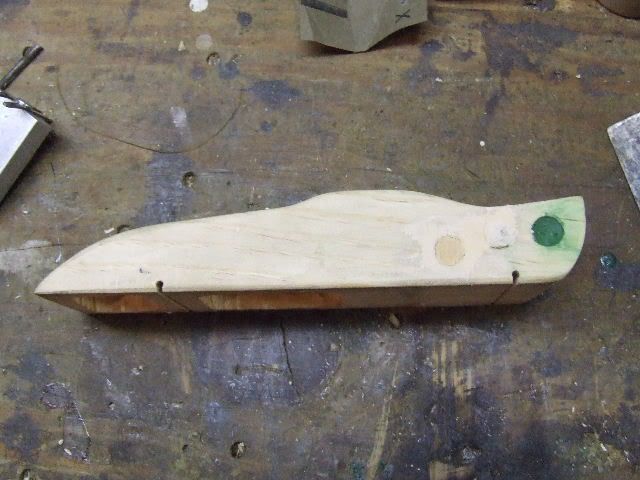
The car above was an experience car. We got experience from it, but nothing more.

Things just didn't work out the way my son wanted them to, so we started over with another piece. I just didn't get pictures of the build for that one.
That workbench is my workshop--wherever I set it up. I don't have a "real" workshop with a true workbench. Nor do I have a "real" router table or any other power tools than a drill, or even a garage to house them. I'm working on fixing an old Dremel Moto Shop my dad gave me. It was my first power tool when I was a kid building my Pinewood Derby cars.
When routing, you can remove
much more than you did from your current car, making it much lighter. We shoot for about 8 or 10 grams, and that includes whatever epoxy is needed for strength or repairing mistakes. This year, my son and I were able to have the car body, epoxy, paint, weight screws, axles, and wheels come in at 0.96 oz. Eight plates of tungsten were 4.02 oz. Two small squares of lead tape from a golf pro shop brought it up to 5.00 oz. CoM was at 1/2 inch, but could easily have been forward of that. With four ounces of tungsten to play with, you could put the CoM just about anywhere you wanted.
Hopefully this will give you some ideas for your future builds.