
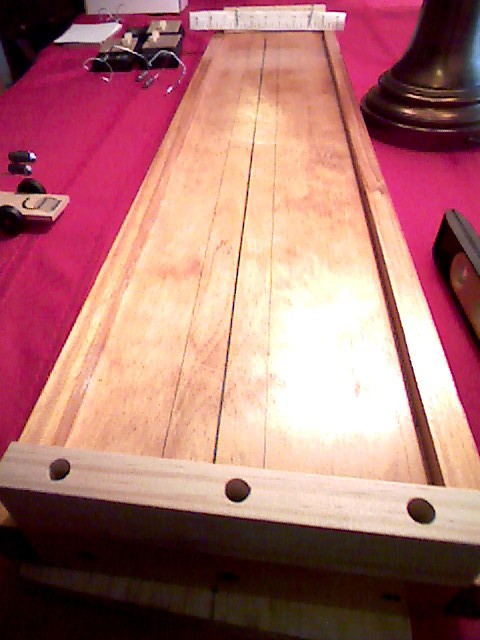
Body/Weight - fairly flat with a few curves for cool factor. Hoping body weighs around 1 oz or so. Really have no clue there. That leaves 3.5 oz of weight to add (minus paint). 3 holes drilled in lower back for easy cut tungsten cylinder weights. Centered one to be used by adjustable tungsten weight. We're not that good so I like the idea of being able to adjust the COM by adjusting the weight. Also have tungsten puddy. Going to leave 0.50 oz for paint and then add puddy in the center hole as needed. Kind of battling the idea of hollowing out the underside and flattening the cylinder weight or something to add it lower.
Wheelbase - Extended with slots. Must have slots per the rules. Going to press in straight axles while the block is square. Don't have a drill press but have an axle press guide. Honestly my biggest fear. I'd hate to have the poor kid work for weeks on this and the axles fall off and we can't get it aligned.
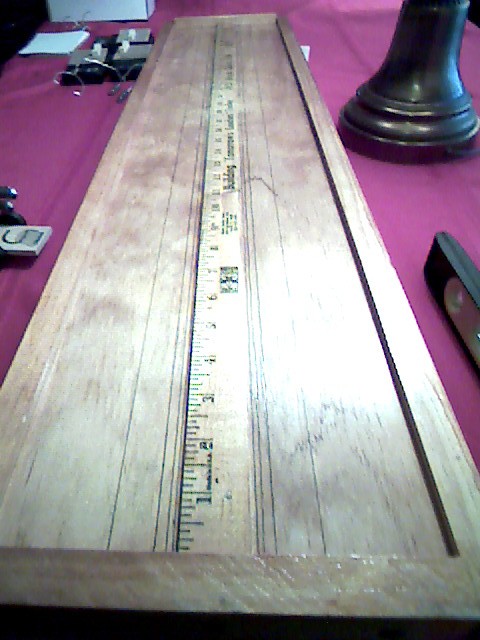
COM - shooting for 3/4" Not too aggressive but not "unaggressive" either. See if we are close to 1 oz on the DFW.
Alignment - 3 wheel RR. Shave 1/16" from DFW side. Cant 1.5 in front and 2.5 in rear. Shooting for 1.5" per 4 feet. Will run with rears only on a glass 4' test ramp. Look for rears moving outward in both directions and test without front wheels.
Paint - Duplicolor sandable primer, base coat, and clear coat. Glazer after primer for an extra smooth look. Sweet flame stencils. Lots of sand paper and polish to make it perty. My boy will definitely know how to spray paint and sand when its all said and done.
Axles and wheels. Test for straightness, groove, and polish. Wheels trued but otherwise must be stock. Can polish bore. Have pipe cleaners and bore polish. Put best two axle/wheel combos in back. Max-V graphite.
Final testing on a treadmill since we don't have a test track. Check for any wild irregularities. Glue axles in with wood glue (unless y'all know of something better, read superglue was not a good idea)
Run on race day


